I decided that I finally needed a workbench, and settled on a Roubo design. Finding the appropriate lumber gave me a slow start, as neithter my local sawmill nor the largest lumberyard in the area carries anything in 5” thicknesses. In addition, this summer saw the highest lumber prices ever, making it unreasonable to laminate a workbench out of construction lumber.
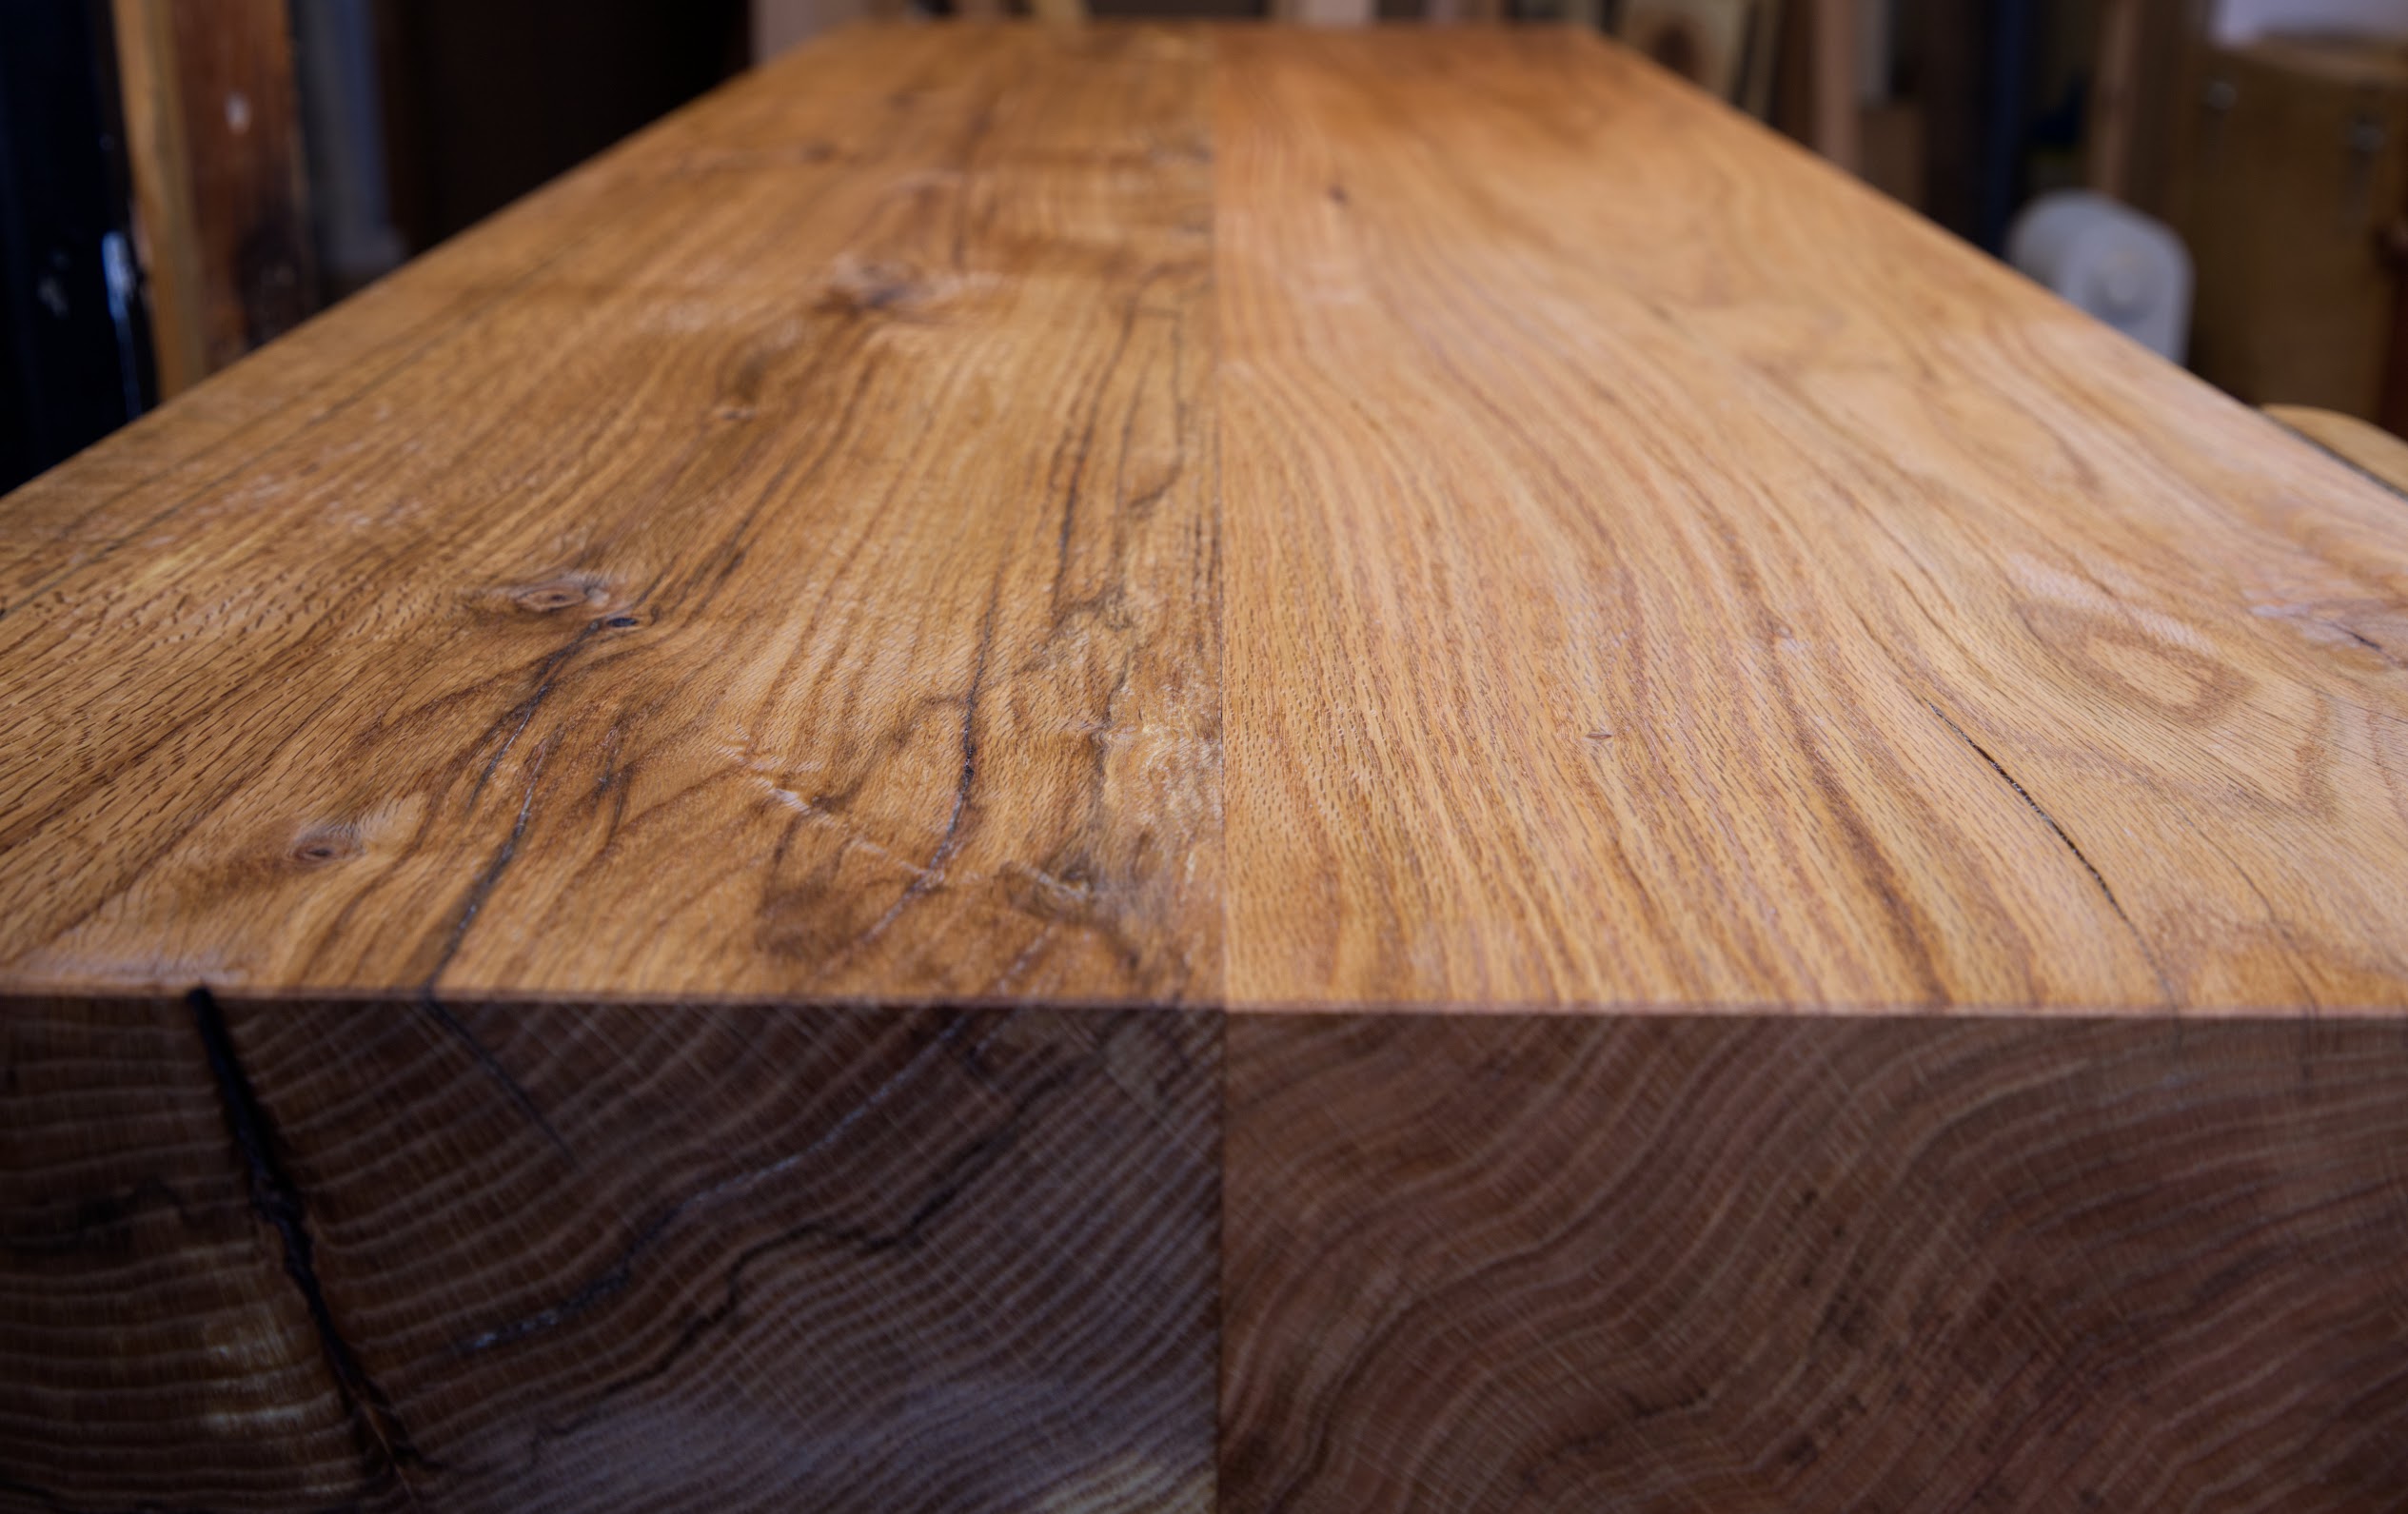
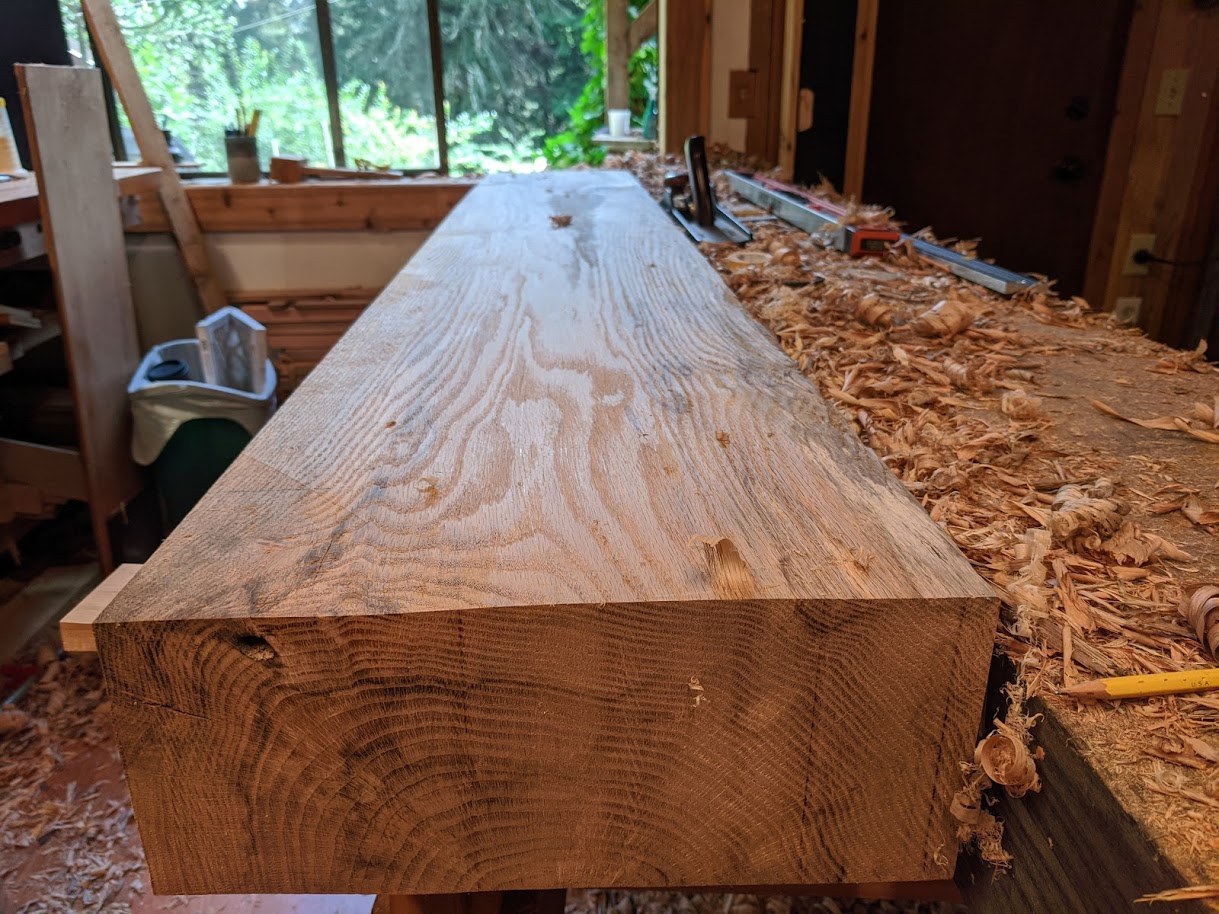
After contenting myself to build my bench out of material I wasn’t too excited about, I found the perfect collection of 5.5” x 13” oak slabs at Second Use. They were the perfect size and in good condition, with little visible defects. Apparently they were millitary dunnage that was stored in a covered barn for 20 years, and then stored indoors for a year after that–so they were as dry as could be expected for something 5” thick. Soon for $600 I had them loaded in my Subaru, which was packed to the gills. The fuel filter burst apart on my way home, which I think was unrelated, but might have had to do with my 500 lb load.
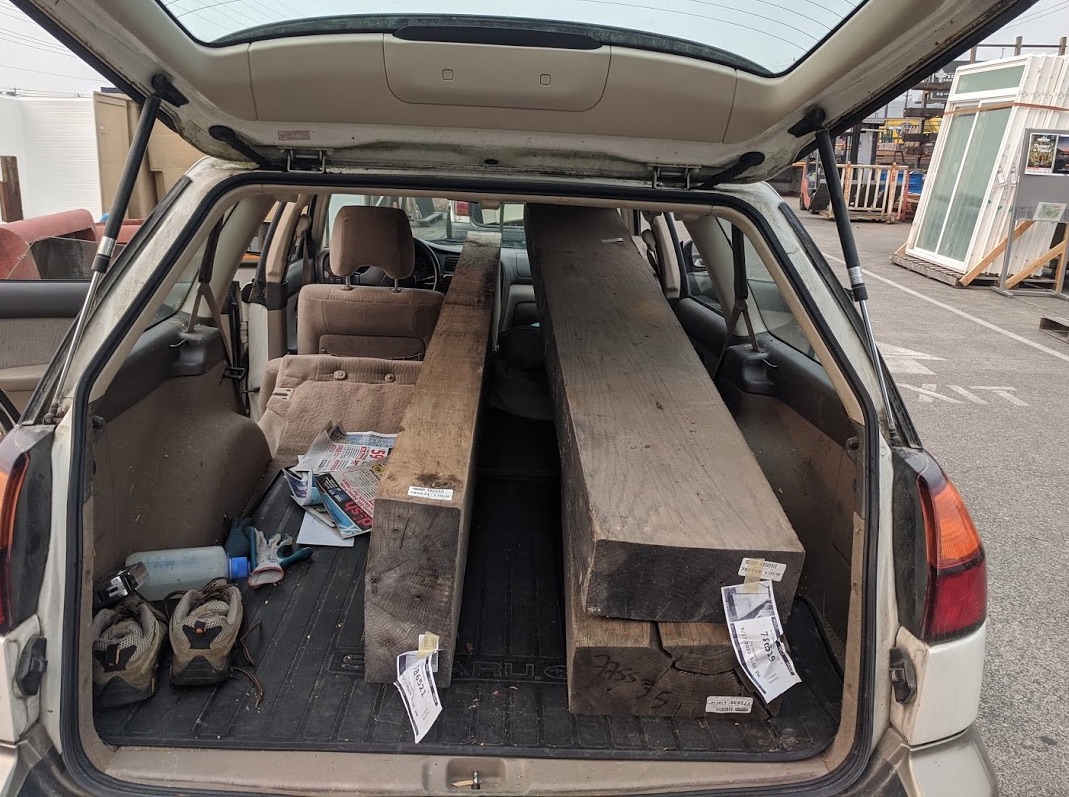
Back in the shop, my first item was to plane the beams so they were planar and square. A 12” jointer would have been nice, but moving these beams was exhausting so I decided to true them up with a jack plane.
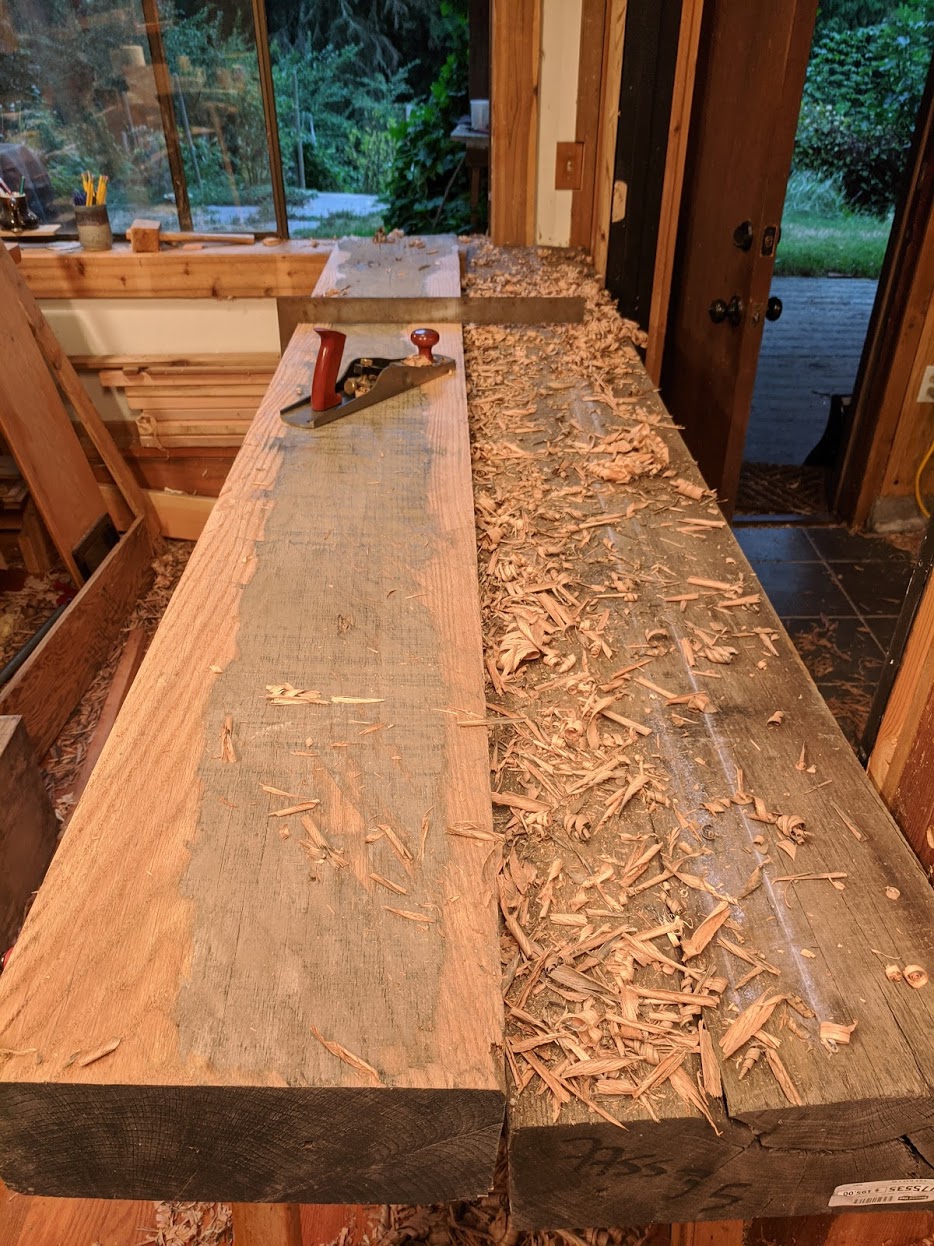
Soon I learned that there was a fair amount of twist, and I that I needed to remove up to 1/2” from these beams with a handplane, which is a lot of work! Winding sticks were super helpful, but I also realied heavily on my 3’ straightedge. I would detect twist by putting it over a particular spot angled in both directions. If one direction it rocked but the other it looked cupped, then the board was twisted at that point. I made a 7’ straightedge with my jointer which I needed to make sure my board didn’t curve over it’s length. It was easy to miss a slight curve with my shorter straightedge.
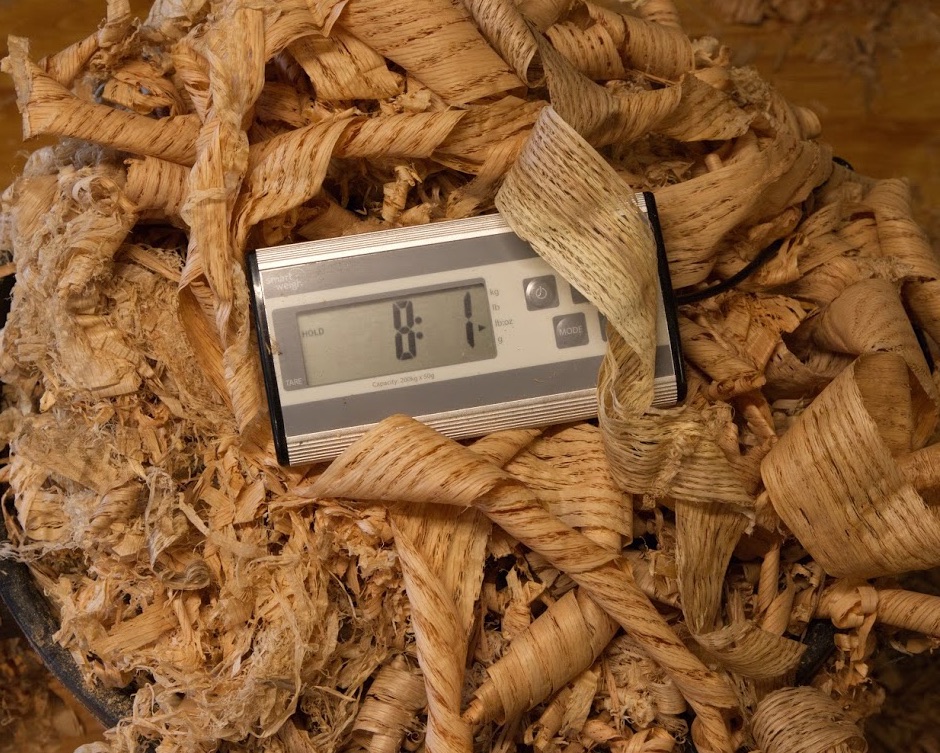
The planing was a lot of work. I filled multiple trashcans and planed off several pounds of material.
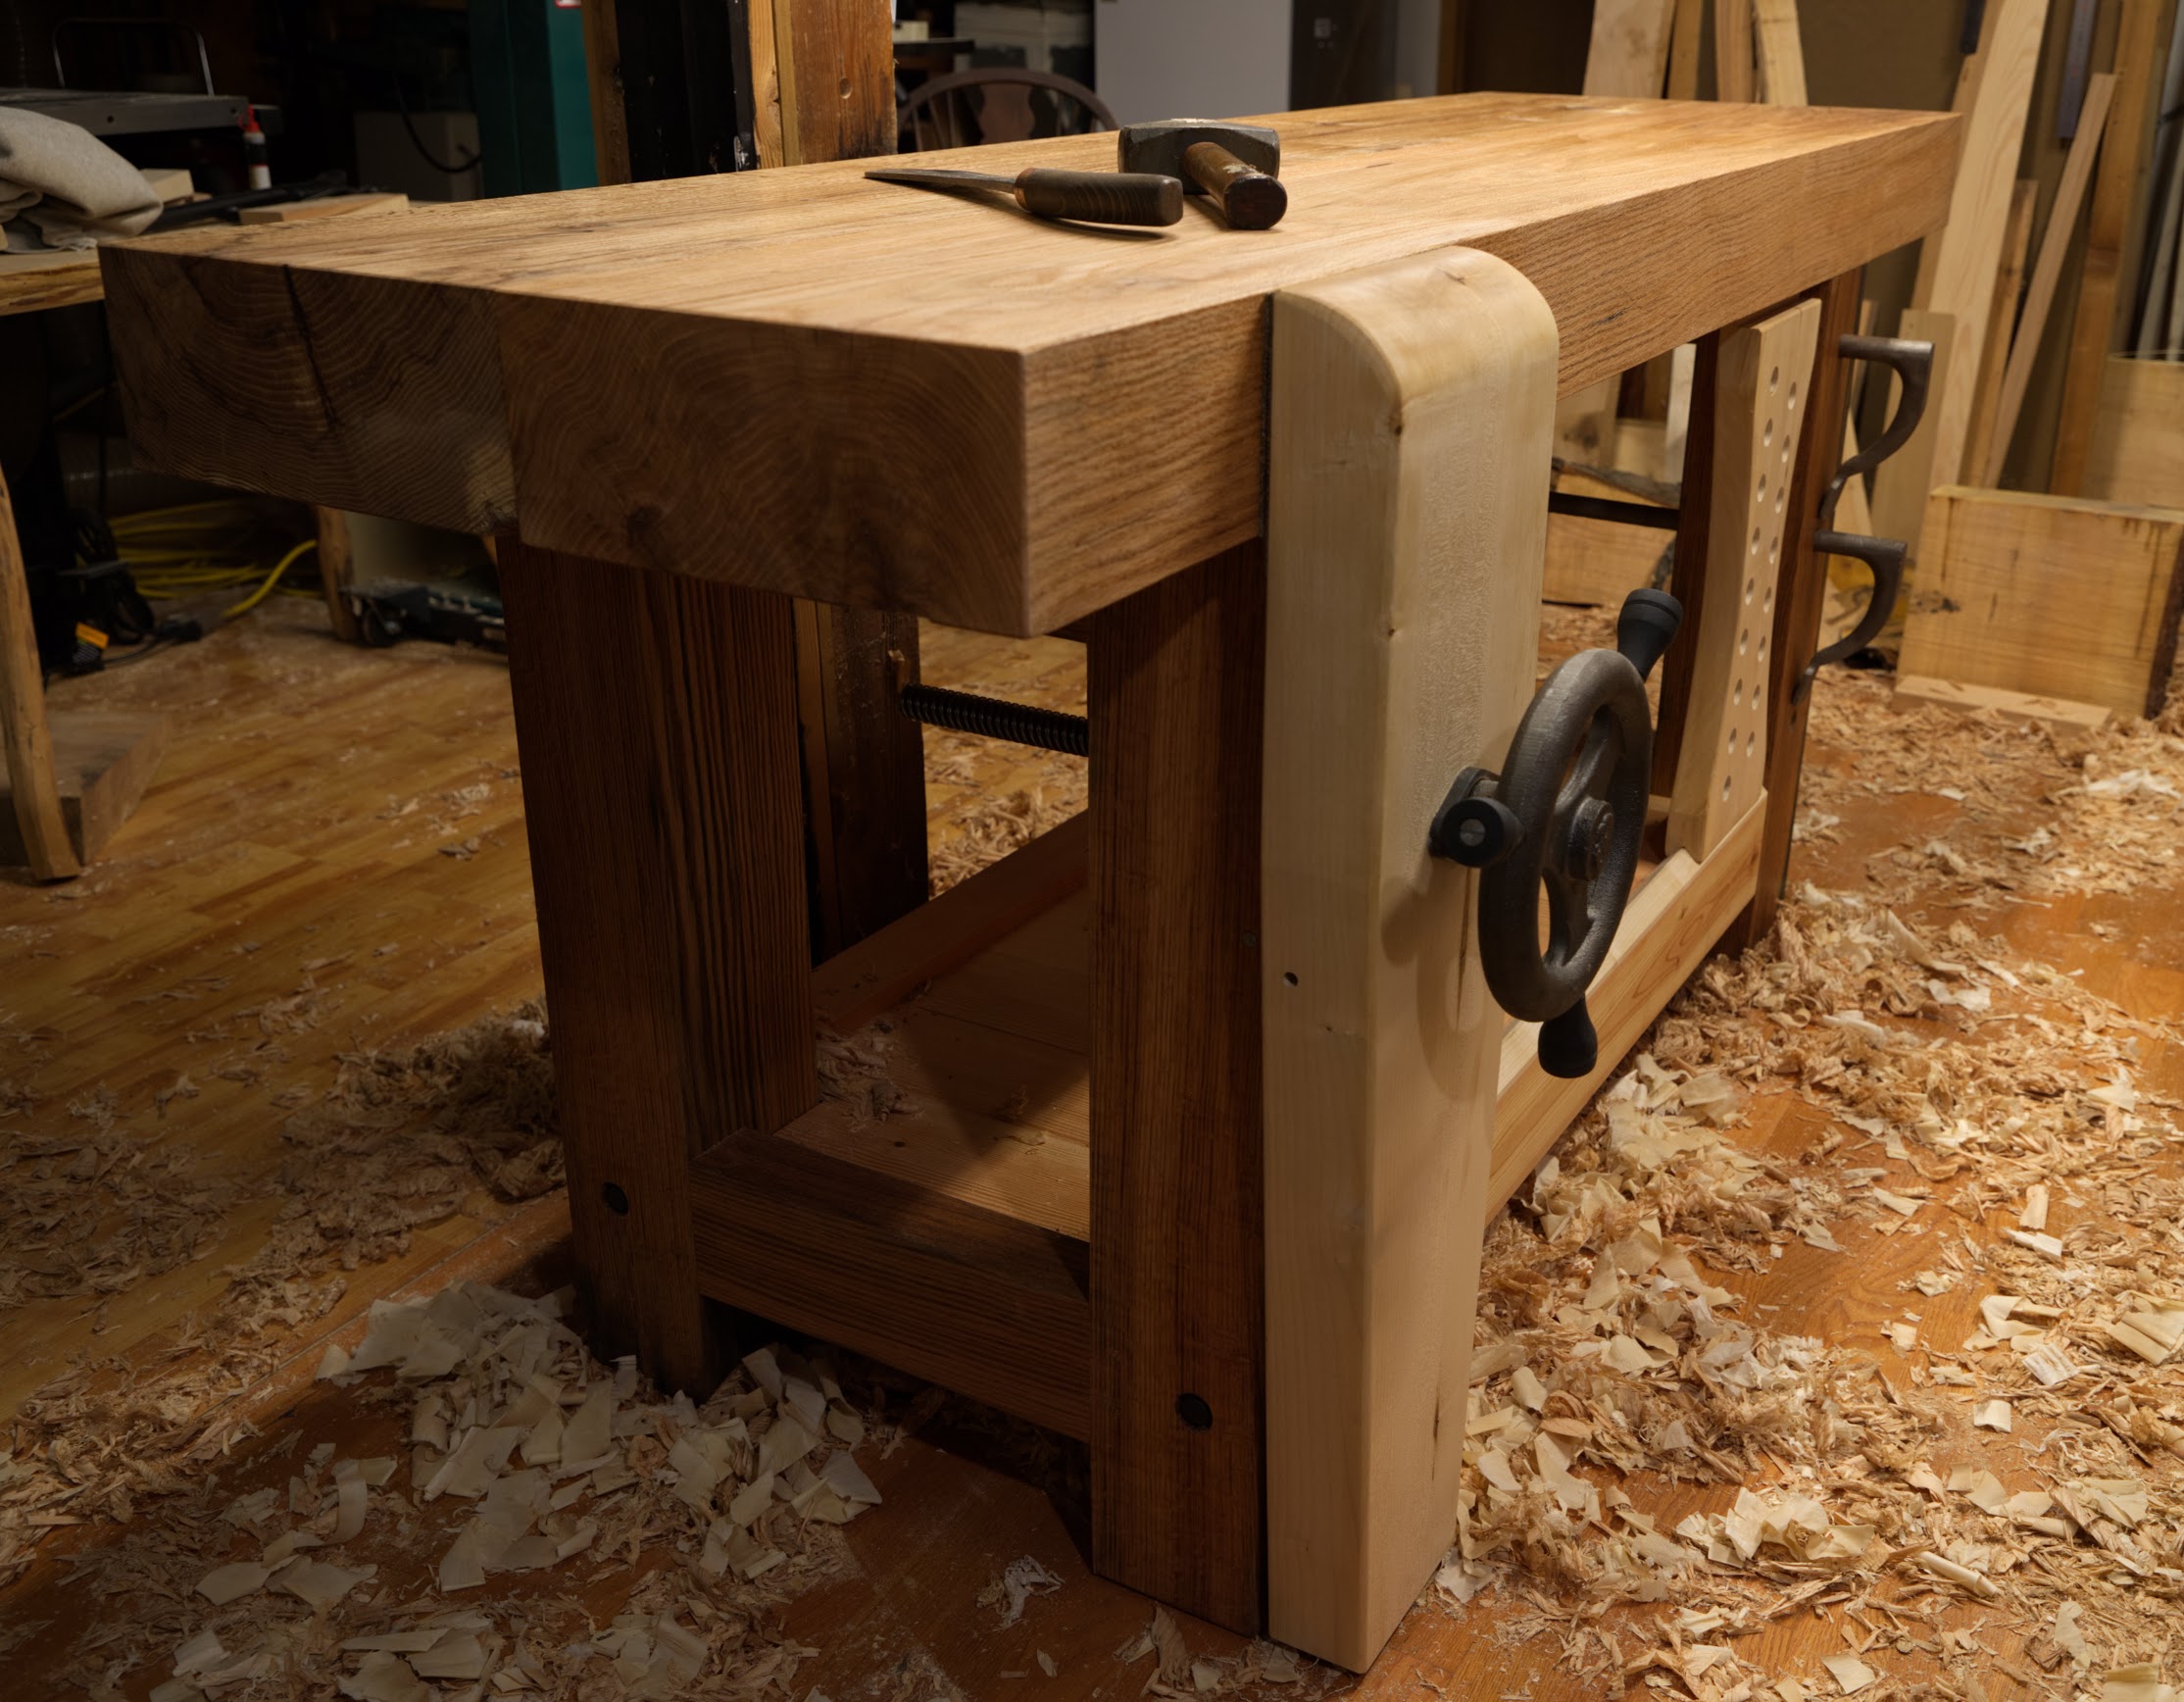
I used one beam (which had some serious checking on one end) for the legs and short stretchers, and the other two for the top. I roughly followed the Benchcrafted plans, but deviated from them pretty significantly because I wasn’t laminating up my components. “Workbenches” by Christopher Schwartz was a great second reference.
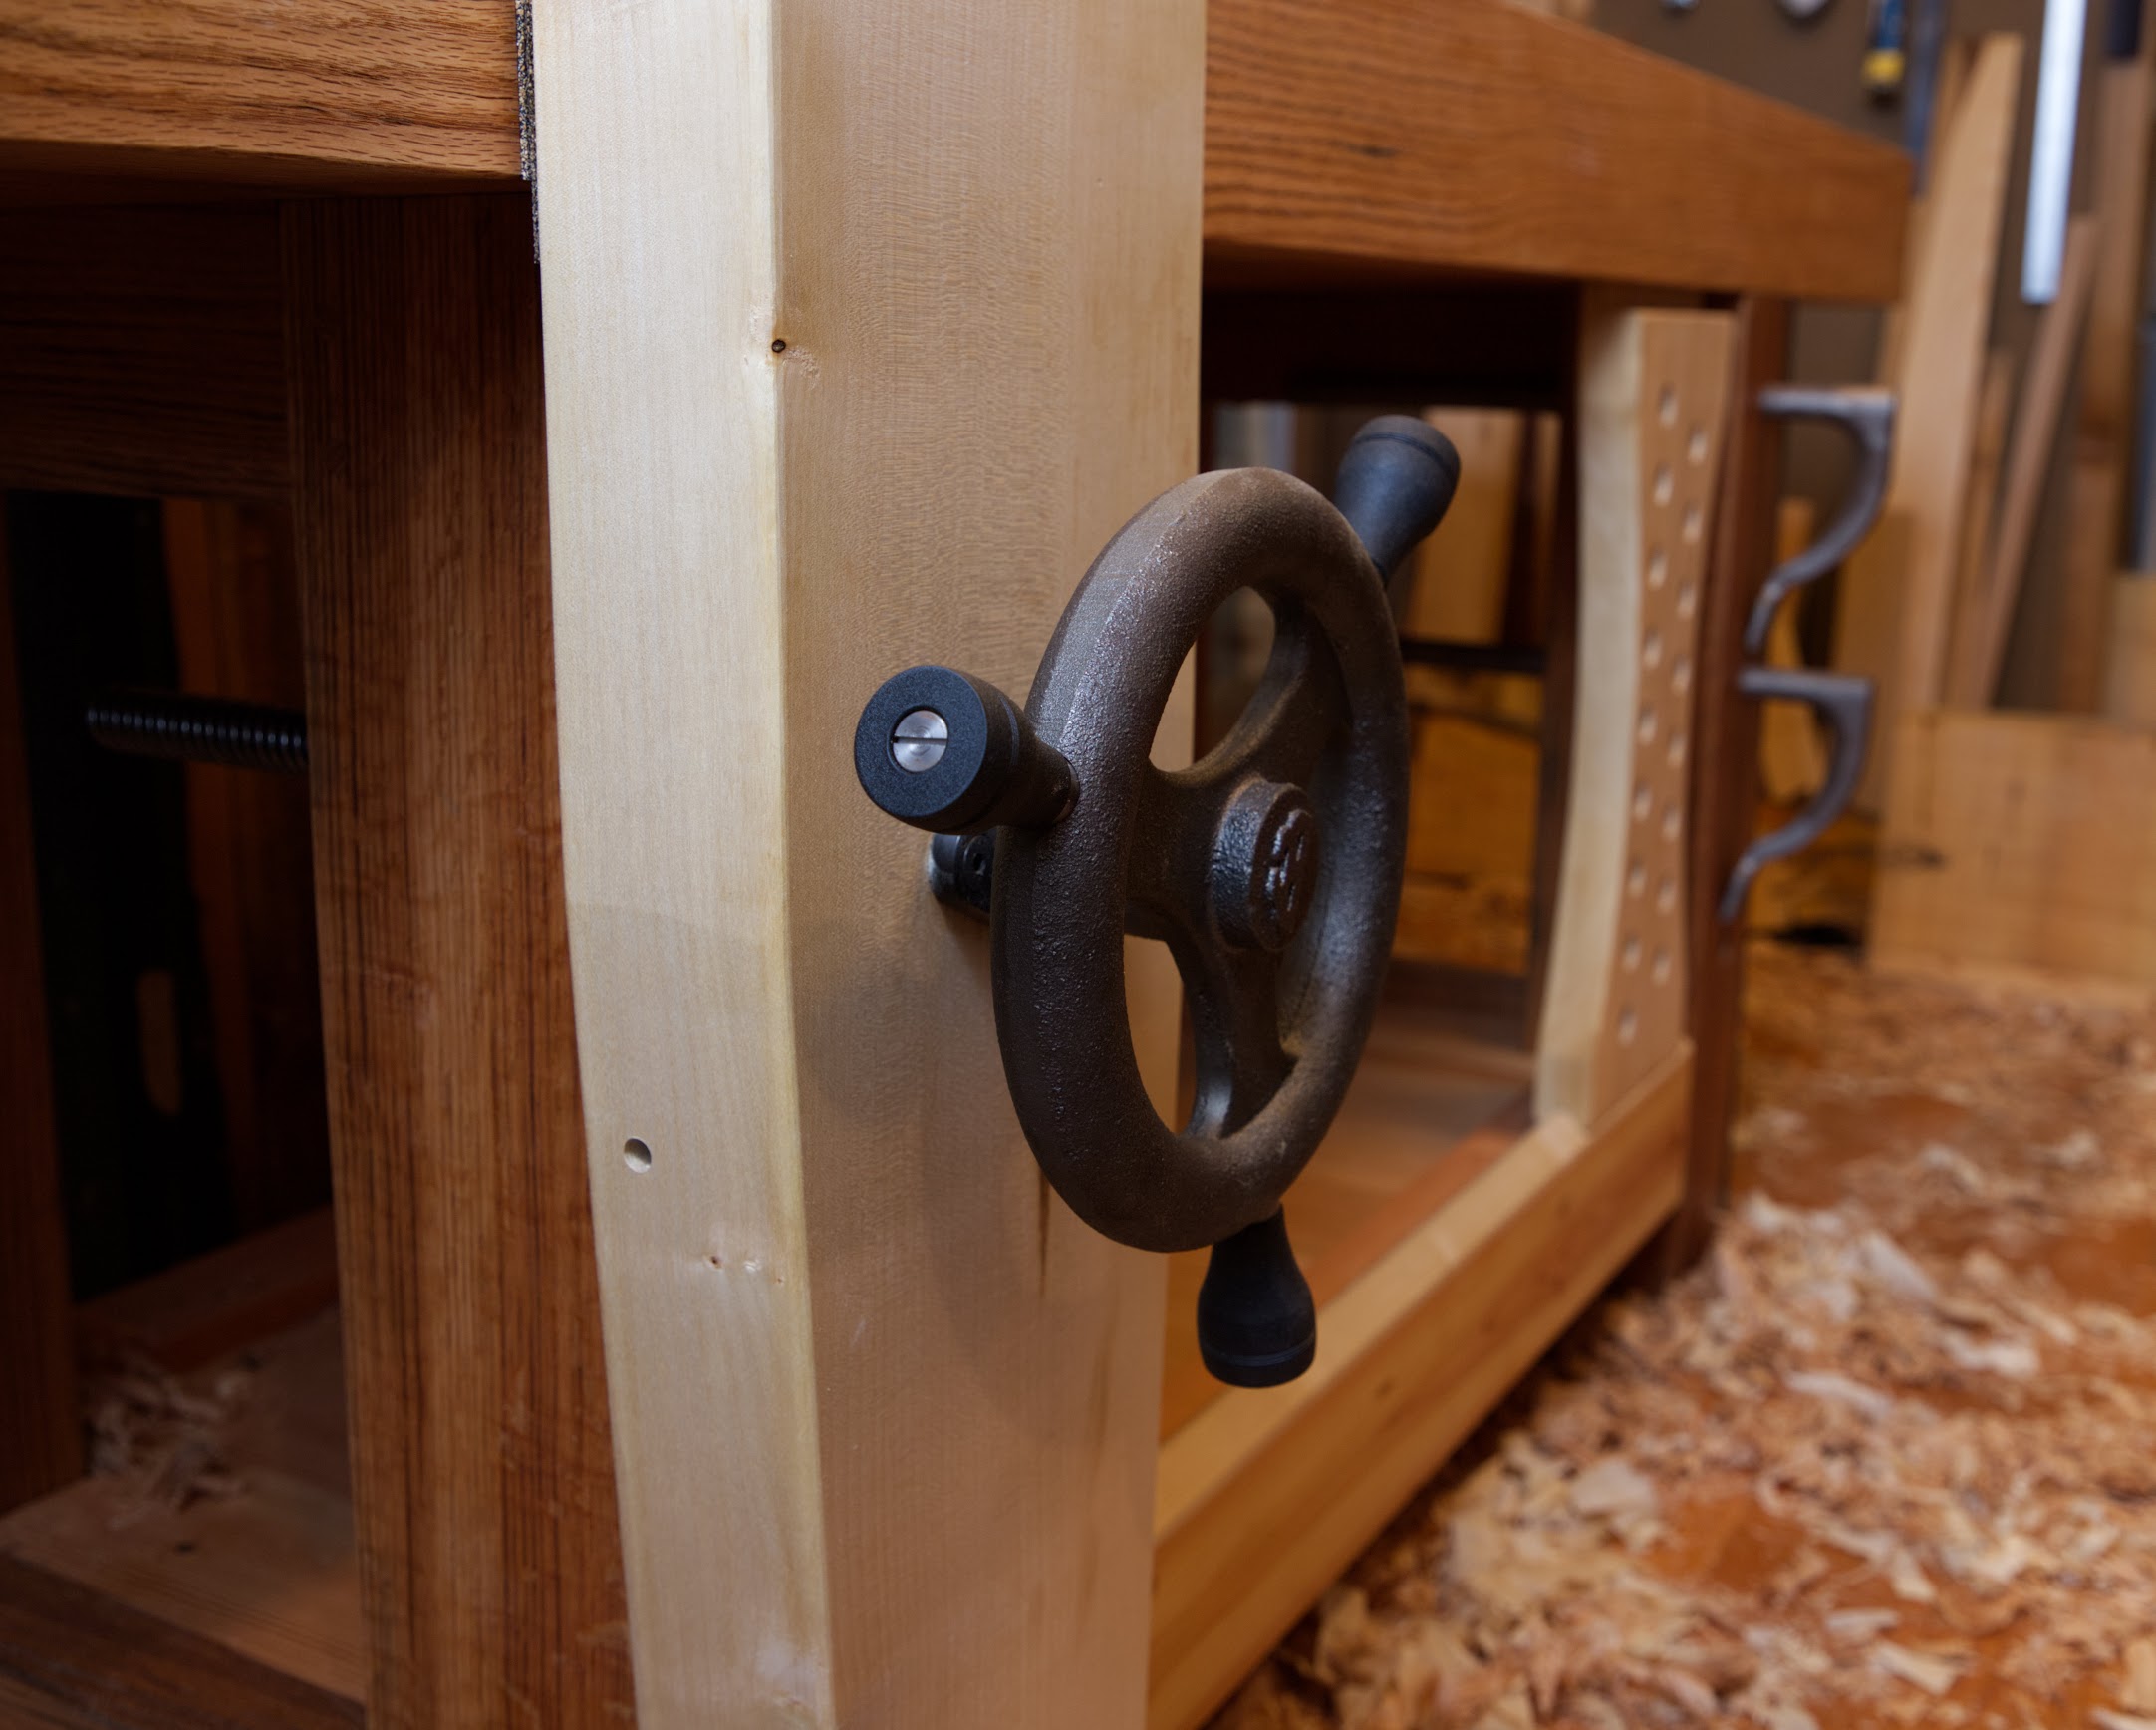
Many of my components were significantly larger than the benchcrafted plans. For example, my legs were 5” x 6” instead of 3” x 5”. Not only did the large legs look better and add more heft, but the internal layout was easier too. The benchcrafted plans needed to strategically place holes to avoid the leg vise mortise in one of the legs, which wasn’t an issue for me. I did need to reduce my benchtop to 6’6”, both due to the size of my shop and defects in the beams. I planned the bench to have a 10” overhang on one end and a 16” overhang on the other, in case I added a tail vise in the future.
Before assembly my parts weighed:
- 85 lbs for legs
- 15 lbs for stretchers
- 25 lbs for rails
- 248 lbs for the tops
This 373 lbs did not include the shelf, any assembly hardware, the deadman, or the leg vise.